Learn how to:
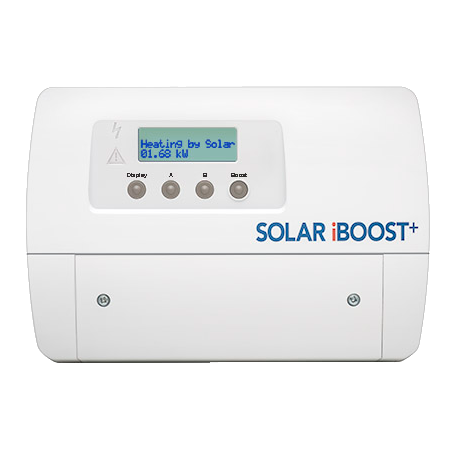
Pair the Sender and Solar iBoost+™
Follow the instructions shown in our Pairing The Sender Guide
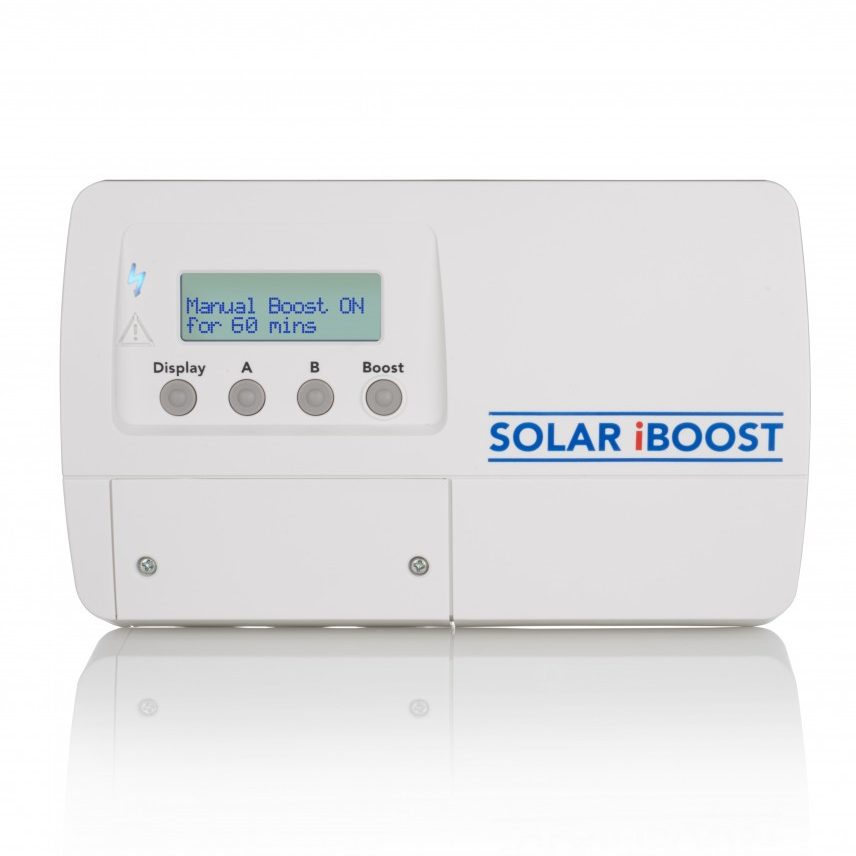
Use the Boost function
Switches on full power to the immersion heater for the period of time selected. Note that electricity is drawn from the grid if the excess generation is too low.
1. Press any button on the Solar iBoost+™ to switch on the backlight.
2. Each press of the Boost button adds 15 minutes to the boost time up to maximum of 2 hours. The amount of time remaining is shown on the display.
3. To cancel the boost simply press the Boost button repeatedly until ‘Manual Boost OFF’ is shown.
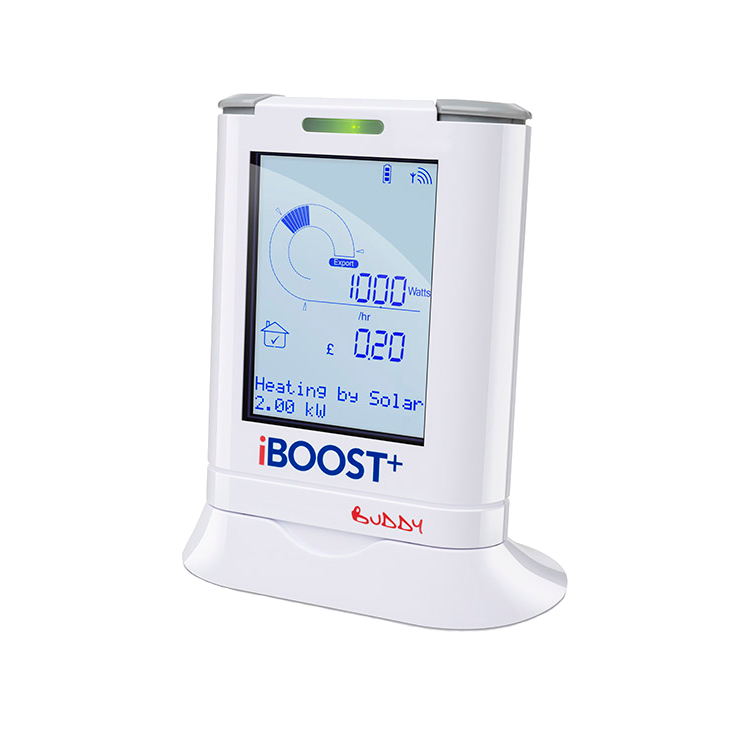
The Boost function can be activated remotely within the home using the optional iBoost+ Buddy™ home energy monitor.
Programme grid power times
Follow the instructions shown on page 15 of the User Manual
Change the language setting
Follow the instructions shown in our Changing the Language on Solar iBoost+
Pair the iBoost Buddy™
The Buddy must be paired with your Solar iBoost+™ to operate. When first powered up the display will state ‘Not Bound’ follow this simple pairing procedure to join with the Solar iBoost+.
- Press and hold both the B and Boost buttons on the Buddy for 5 seconds, the display will show ‘Install Mode 58s Unbound’. The buddy allows 1 minute to pair before timing out. The countdown is shown.
- During the 60 second countdown move to the Solar iBoost+™, press any button to switch on the back light. Immediately press and hold button B on the Solar iBoost+™ for 5 seconds then release.
- The Solar iBoost+™ display will show ‘Pairing with Device…’.
When the pairing is successful the Solar iBoost+™ will show ‘Pairing Successful’.
The Buddy will display ‘Install Mode 05s Bound’ The Buddy is fully paired after 5 seconds.
If the Pairing fails the Buddy display will time out and again show ‘Not Bound’.
Repeat the procedure until the pairing is achieved.
4. Finally, locate the Buddy in a convenient position.
Download our How to Pair your iBoost Buddy Guide
Use Solar iBoost+ or Solar iBoost Alongside Battery Storage
Solar iBoost+ has a default cut in threshold of 100W of export before diversion commences. No adjustment is needed if your battery storage system cut in threshold is below 100W. In this scenario the battery storage has priority, once fully charged any further excess will be detected by the Solar iBoost+ and water heating will commence.
To prioritise either water heating or battery charging or to widen the cut in thresholds between the battery storage and Solar iBoost+ use one of these options:
- If adjustment is available, lower the battery storage threshold to 50W. Water heating will follow a fully charged battery.
- If adjustment is available, raise the battery storage threshold to 150W. Battery charging will follow a full tank of hot water.
- Where the battery storage is not adjustable the Solar iBoost+ threshold can be adjusted upward in 50W increments. This is available on new models released from May 2019 by following the instructions provided and that follow on this page.
- Where battery storage is added to an existing Solar iBoost or Solar iBoost+ installation and the battery storage is not adjustable we offer a Sender 250 replacement for the Sender device. This is set at a fixed 250W of export threshold which is normally higher than battery storage cut in and is a drop in replacement for all existing Senders.
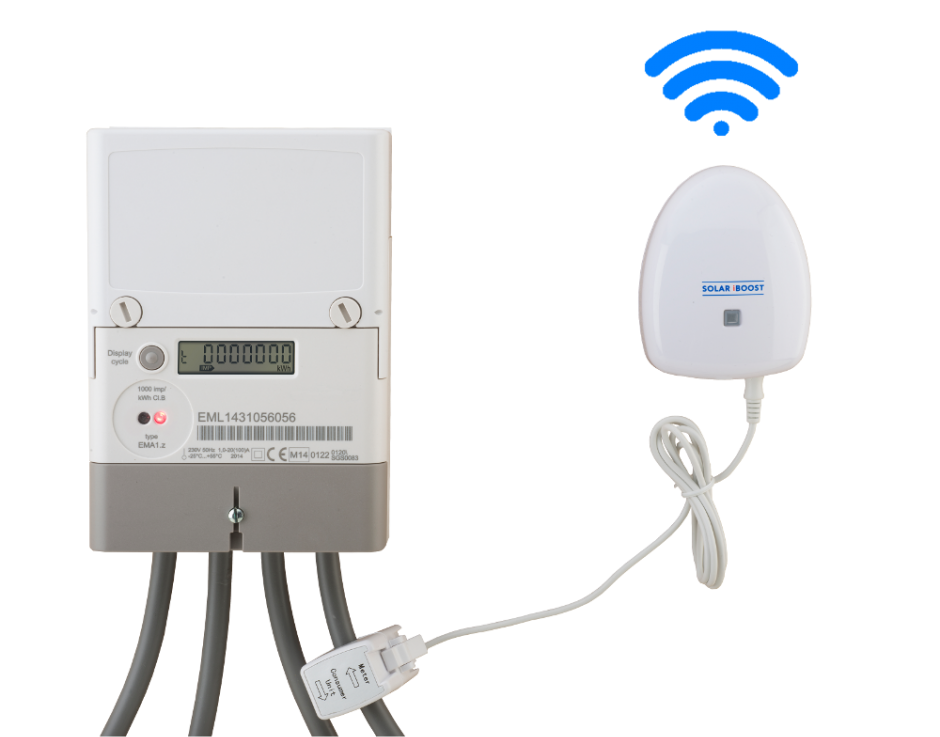
In all cases note that when installing CT clamps, each must be separated by approximately 10cm to avoid measurement errors.
How to Re-programme the Solar iBoost+ Cut In Threshold for Use Alongside Battery Storage
Solar iBoost+ has a default cut in threshold of 100W of export before diversion commences. Models from May 2019 have a programme feature to increase the threshold level in 50W increments up to a maximum of 500W. When the battery storage threshold is <100W the Solar iBoost+ can be installed as supplied in its default mode resulting in battery storage prioritised with water heating following when the batteries are full.
If a higher level is needed to accommodate a battery storage system with >100W cut in follow these instructions:
- View the Programming section in the User Manual. Follow the instructions to set the time and date of the clock.
- On the last press of button A confirming the date and time “Storage Offset 100W (Default)” will display.
- Press button B to step 50W increments up to a maximum of 500W. When the level required is reached press button A to save.
- The Boost settings menu appears, proceed to make any settings required or leave the unit for approximately 30 seconds to time out.
Should the user choose to prioritise water heating adjustments to the battery storage threshold may be required.
In all cases note that when installing CT clamps, each must be separated by approximately 10cm to avoid measurement errors.
